
AI Agents
Create and configure AI agents: channels, capabilities, models, prompts, then test and manage them.
Objective
Create and configure AI agents that answer on Email, WhatsApp, Web Chat and Voice. Each agent defines its channels, the capabilities it can use (documents, data tables, web search, CRM, calendar, email, webhooks), an AI model, and a system prompt. You can build an agent with Helio (conversational), from a template, or manually through a 5-step wizard.
Access
Sidebar -> Agents
Routes:
- List: /app/{tenant}/agents
- Edit: /app/{tenant}/agents/{id}/edit
- Test: /app/{tenant}/agents/{id}/test
Roles
- View, create, edit, test, and activate/deactivate agents: all roles (owner, admin, agent).
- Duplicate and Delete: owner and admin only.
Prerequisites
- Verified email and an active subscription (a restricted or suspended workspace cannot create agents).
- Under your plan's agent limit. The limit counts active agents; suspended agents do not consume a slot.
- An AI provider key connected in Integrations, or a plan that includes models. Which models appear depends on the providers you have connected and your plan.
- Create with Helio and the Prompt Wizard require your own OpenAI API key (you can add it inline during the flow).
- Capability-specific requirements (only if you enable that capability):
| Capability | Requires |
|---|---|
| RAG (Google File Search) | A Google AI API Key and at least one document. You can add the key and upload documents inline. |
| SQL Database Access | At least one data table (see Data Tables). |
| Web Search | A web search API key connected in Integrations (can be added inline). |
| CRM | Nothing extra; uses your contacts. |
| Calendar | A connected Google account (connect inline). |
| Gmail | A connected Gmail account (connect inline). |
| Voice channel | A Voice Agent with a phone number, set up in the Voice Agents module. |
Create an agent
Under Agents, you have three ways to start:
- Create with Helio: describe the agent in your own words and Helio drafts the setup for you.
- Manual: open the 5-step wizard blank.
- Templates: start from a pre-designed template that pre-fills the wizard.
All three run the same validations and quota checks before the agent is saved.
Create with Helio
- Click Create with Helio.
- Describe what the agent should do and select the channels you want.
- Helio asks a follow-up question if it needs more detail, then proposes a draft: name, description, system prompt, recommended capabilities, and matching webhooks.
- Review the draft. Click Start over to redo it, or Continue to open the wizard pre-filled.
- Adjust anything in the wizard and create the agent.
Helio uses your OpenAI API key. If none is connected, the dialog walks you through adding one inline. Voice is a separate kind of agent, so selecting Voice clears the text channels (and vice versa).
Start from a template
Click the template option to pick a pre-designed agent. The template pre-fills the wizard fields; you review and adjust before creating.
Create manually (5-step wizard)
Click Manual to open the wizard. The header shows the current step (1 to 5). Use Next and Back to move between steps. Closing requires the X or Cancel (an accidental click outside will not discard your work).
Step 1: Basic Information
| Field | Mandatory | Format | Note |
|---|---|---|---|
| Agent Name | Yes | free text | The agent's display name |
| Description | No | free text | A short summary of what the agent does |
Step 2: Configure Channels
Select one or more channels. At least one is required. Voice is mutually exclusive with the other channels: enabling Voice disables Email, WhatsApp and Web Chat, and enabling any of those disables Voice.
| Channel | Description |
|---|---|
| Send emails and notifications automatically. | |
| Connect via WhatsApp Business API. | |
| Web Chat | Website support chat widget. |
| Voice (Phone) | Receive and make phone calls. |
For WhatsApp and Web Chat you can toggle Accept attachments (images, voice notes, documents). When off, that channel replies to text only and ignores any media the customer sends.
Step 3: Agent Capabilities
Choose which capabilities this agent has. All are optional.
| Capability | What it does | Requires |
|---|---|---|
| RAG (Google File Search) | Answer questions from your documents and knowledge bases. | Google AI API Key + at least one selected document. |
| SQL Database Access | Query your data tables using natural language. | At least one selected data table. |
| Web Search | Pull in real-time information from trusted sources. | A web search API key. |
| Channel History | Let the agent read its own recent activity across its channels to summarize or analyze it. | Nothing extra (email included only when the Inbox module is enabled). |
| CRM | Let the agent search, view, create, and update contacts. | Select the permitted actions. |
| Calendar | Let the agent list, create, update, and delete calendar events. | A connected Google account. |
| Gmail | Let the agent send emails from a connected Gmail account. | A connected Gmail account. |
Capability details:
- RAG: if no Google key is connected, an inline field lets you add it. Once connected, select documents from the list or upload new ones (PDF, TXT, MD, DOCX, up to 10 MB each) with a document type preset (General, Legal, Technical, FAQ). Newly uploaded documents are auto-selected. At least one document must be selected.
- SQL Database Access: pick the data tables the agent may use. For each selected table you choose the allowed operations — Read is always on; Insert, Update and Delete are available only if the table itself permits them.
- Web Search: if no key is connected, an inline field lets you add one.
- CRM: choose from Search, View Details, Create, Update, Move between pipeline stages, List by stage, Tag, Task, Note, Assign owner, and Read history.
- Calendar: select the connected Google account, then choose the allowed actions (list, create, update, delete). If no account is connected, connect one inline. An account must be selected before you can continue.
- Gmail: select the connected Gmail account, or connect one inline.
Webhooks (same step): select the webhooks this agent can call. Only webhooks created in the Webhooks module appear here; disconnected ones are hidden with a note to reconnect them.
Step 4: Craft Your Agent's Brain
This step builds the system prompt — the instructions that define the agent's personality, rules, and boundaries.
- Launch the Prompt Wizard to generate an optimized prompt from your description, channels, and selected capabilities. The wizard requires an OpenAI API key; if none is connected, add it inline first.
- Or choose to write the prompt manually (skip the wizard).
After a prompt is generated you can edit it inline, regenerate it, or clear it. A character counter shows usage against the limit.
Step 5: AI Configuration
| Field | Mandatory | Format | Note |
|---|---|---|---|
| Provider | Yes | dropdown | Depends on the providers you have connected. |
| Model | Yes | dropdown | Filtered by provider and by voice compatibility. |
| Temperature | Yes | 0.0 - 1.0 | 0 = focused, 1 = creative. Realtime/voice models are fixed at 1. |
| Max Tokens | Yes | number | Between 100 and 2,000, capped by the model's maximum output. |
| Top P | Yes | 0.0 - 1.0 | Sampling control. |
| System Prompt | No | long text | Up to 8,000 characters (about 7,500 recommended for voice). |
| Reply language | Yes | dropdown | Match the user's language (recommended), Always English, or Always Spanish. |
If no usable model is available (for example the OpenAI key is missing or not working), this step shows an inline field to fix the key. Click Create Agent to save.
Edit an agent
Route: /app/{tenant}/agents/{id}/edit
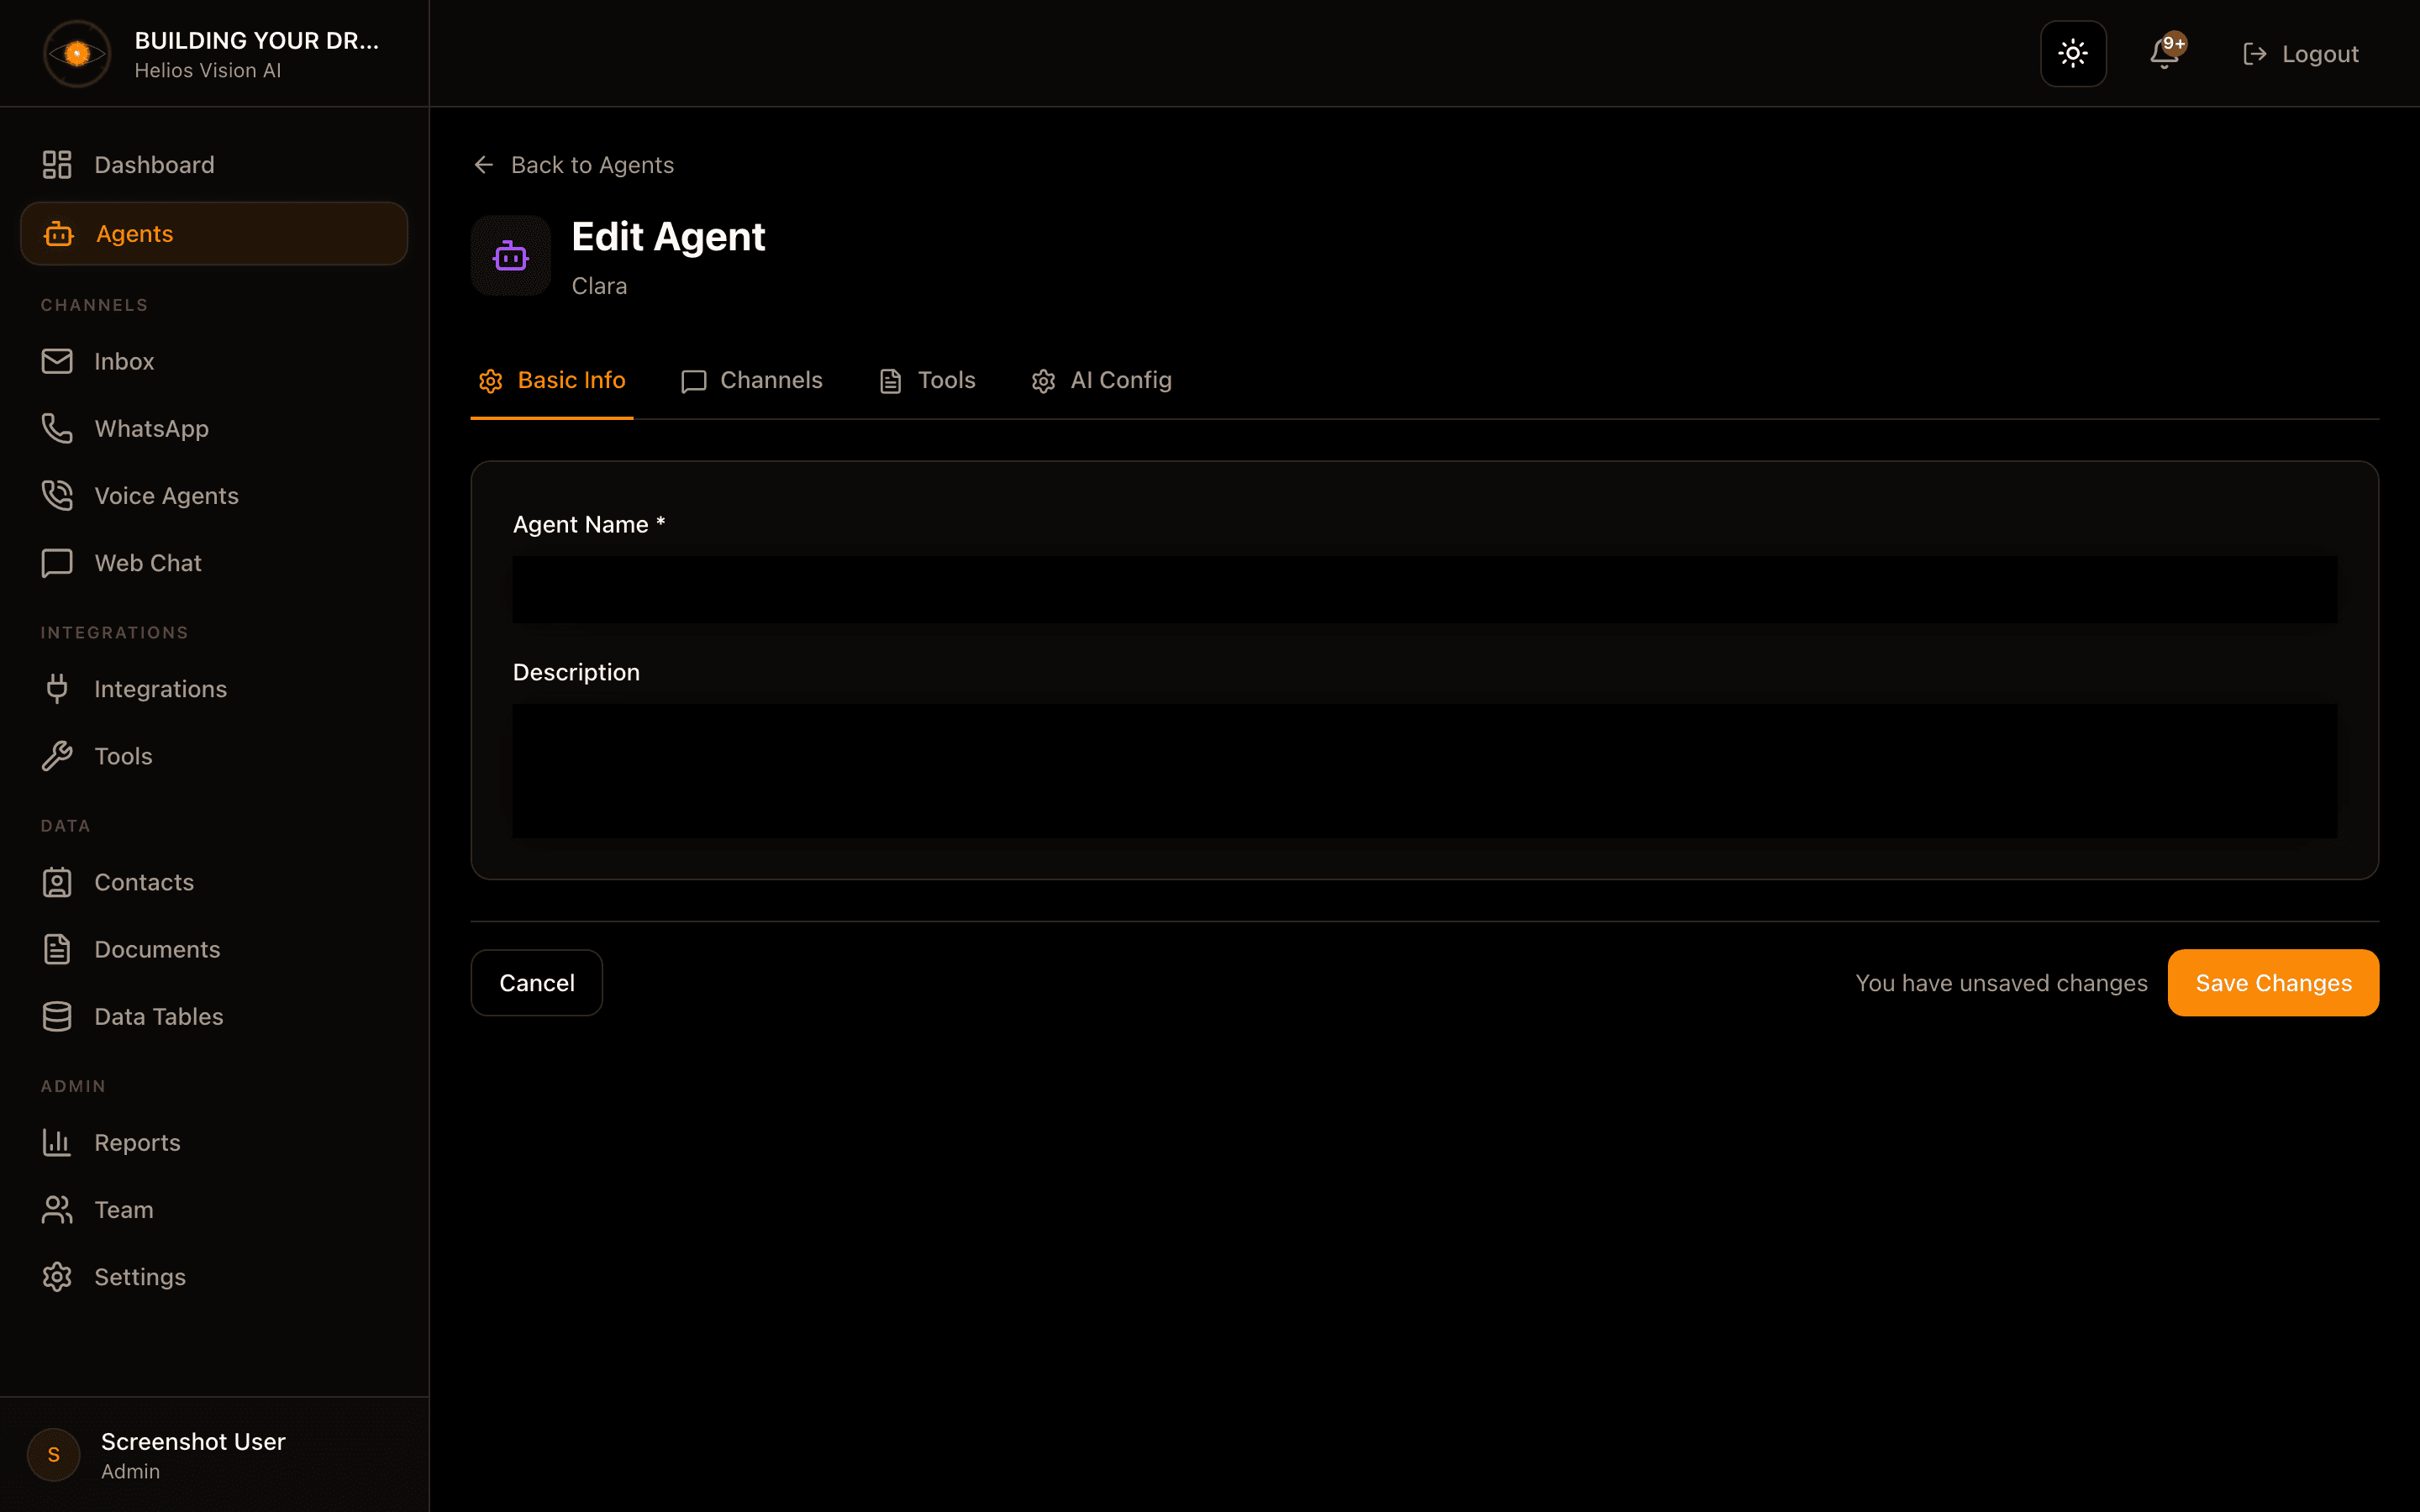
The edit form uses four tabs:
| Tab | Contains |
|---|---|
| Basic Info | Agent Name, Description |
| Channels | Email, Voice, WhatsApp, Web Chat (with Accept attachments for WhatsApp and Web Chat) |
| Tools | All capabilities from the wizard (RAG, SQL, Web Search, Channel History, CRM, Calendar, Gmail) plus Webhooks |
| AI Config | Model, Temperature, Max Tokens, Top P, System Prompt, Timezone, Reply language, Human Escalation |
AI Config-only fields:
- Timezone: override the tenant timezone for this agent. Leave empty to use the tenant's default.
- Human Escalation — Detect escalation requests: on by default; lets the agent recognize when a customer asks for a human.
The Helio button (top-right) opens the agent copilot to diagnose, fix, and manage the agent. It requires an OpenAI key and a system prompt. When you make changes, a badge indicates Helio can review them; you can also run targeted diagnostics (runtime, data quality, integration health, performance, compliance).
Actions: Save Changes to save, or navigate back to Agents to discard.
Test an agent
Route: /app/{tenant}/agents/{id}/test
The test console lets you try the agent before or after activating it:
- Send test messages and read the agent's replies.
- Inspect Insights and the trace to see which capabilities ran (documents, data tables, web search, integration tools).
- For voice agents, start a live voice session with selectable voice and language, an optional initial greeting, end-call behavior, and an inactivity timeout.
- Activate or deactivate the agent from the console.
If the model's provider key is missing, the console shows a warning so you can connect it first.
Manage agents
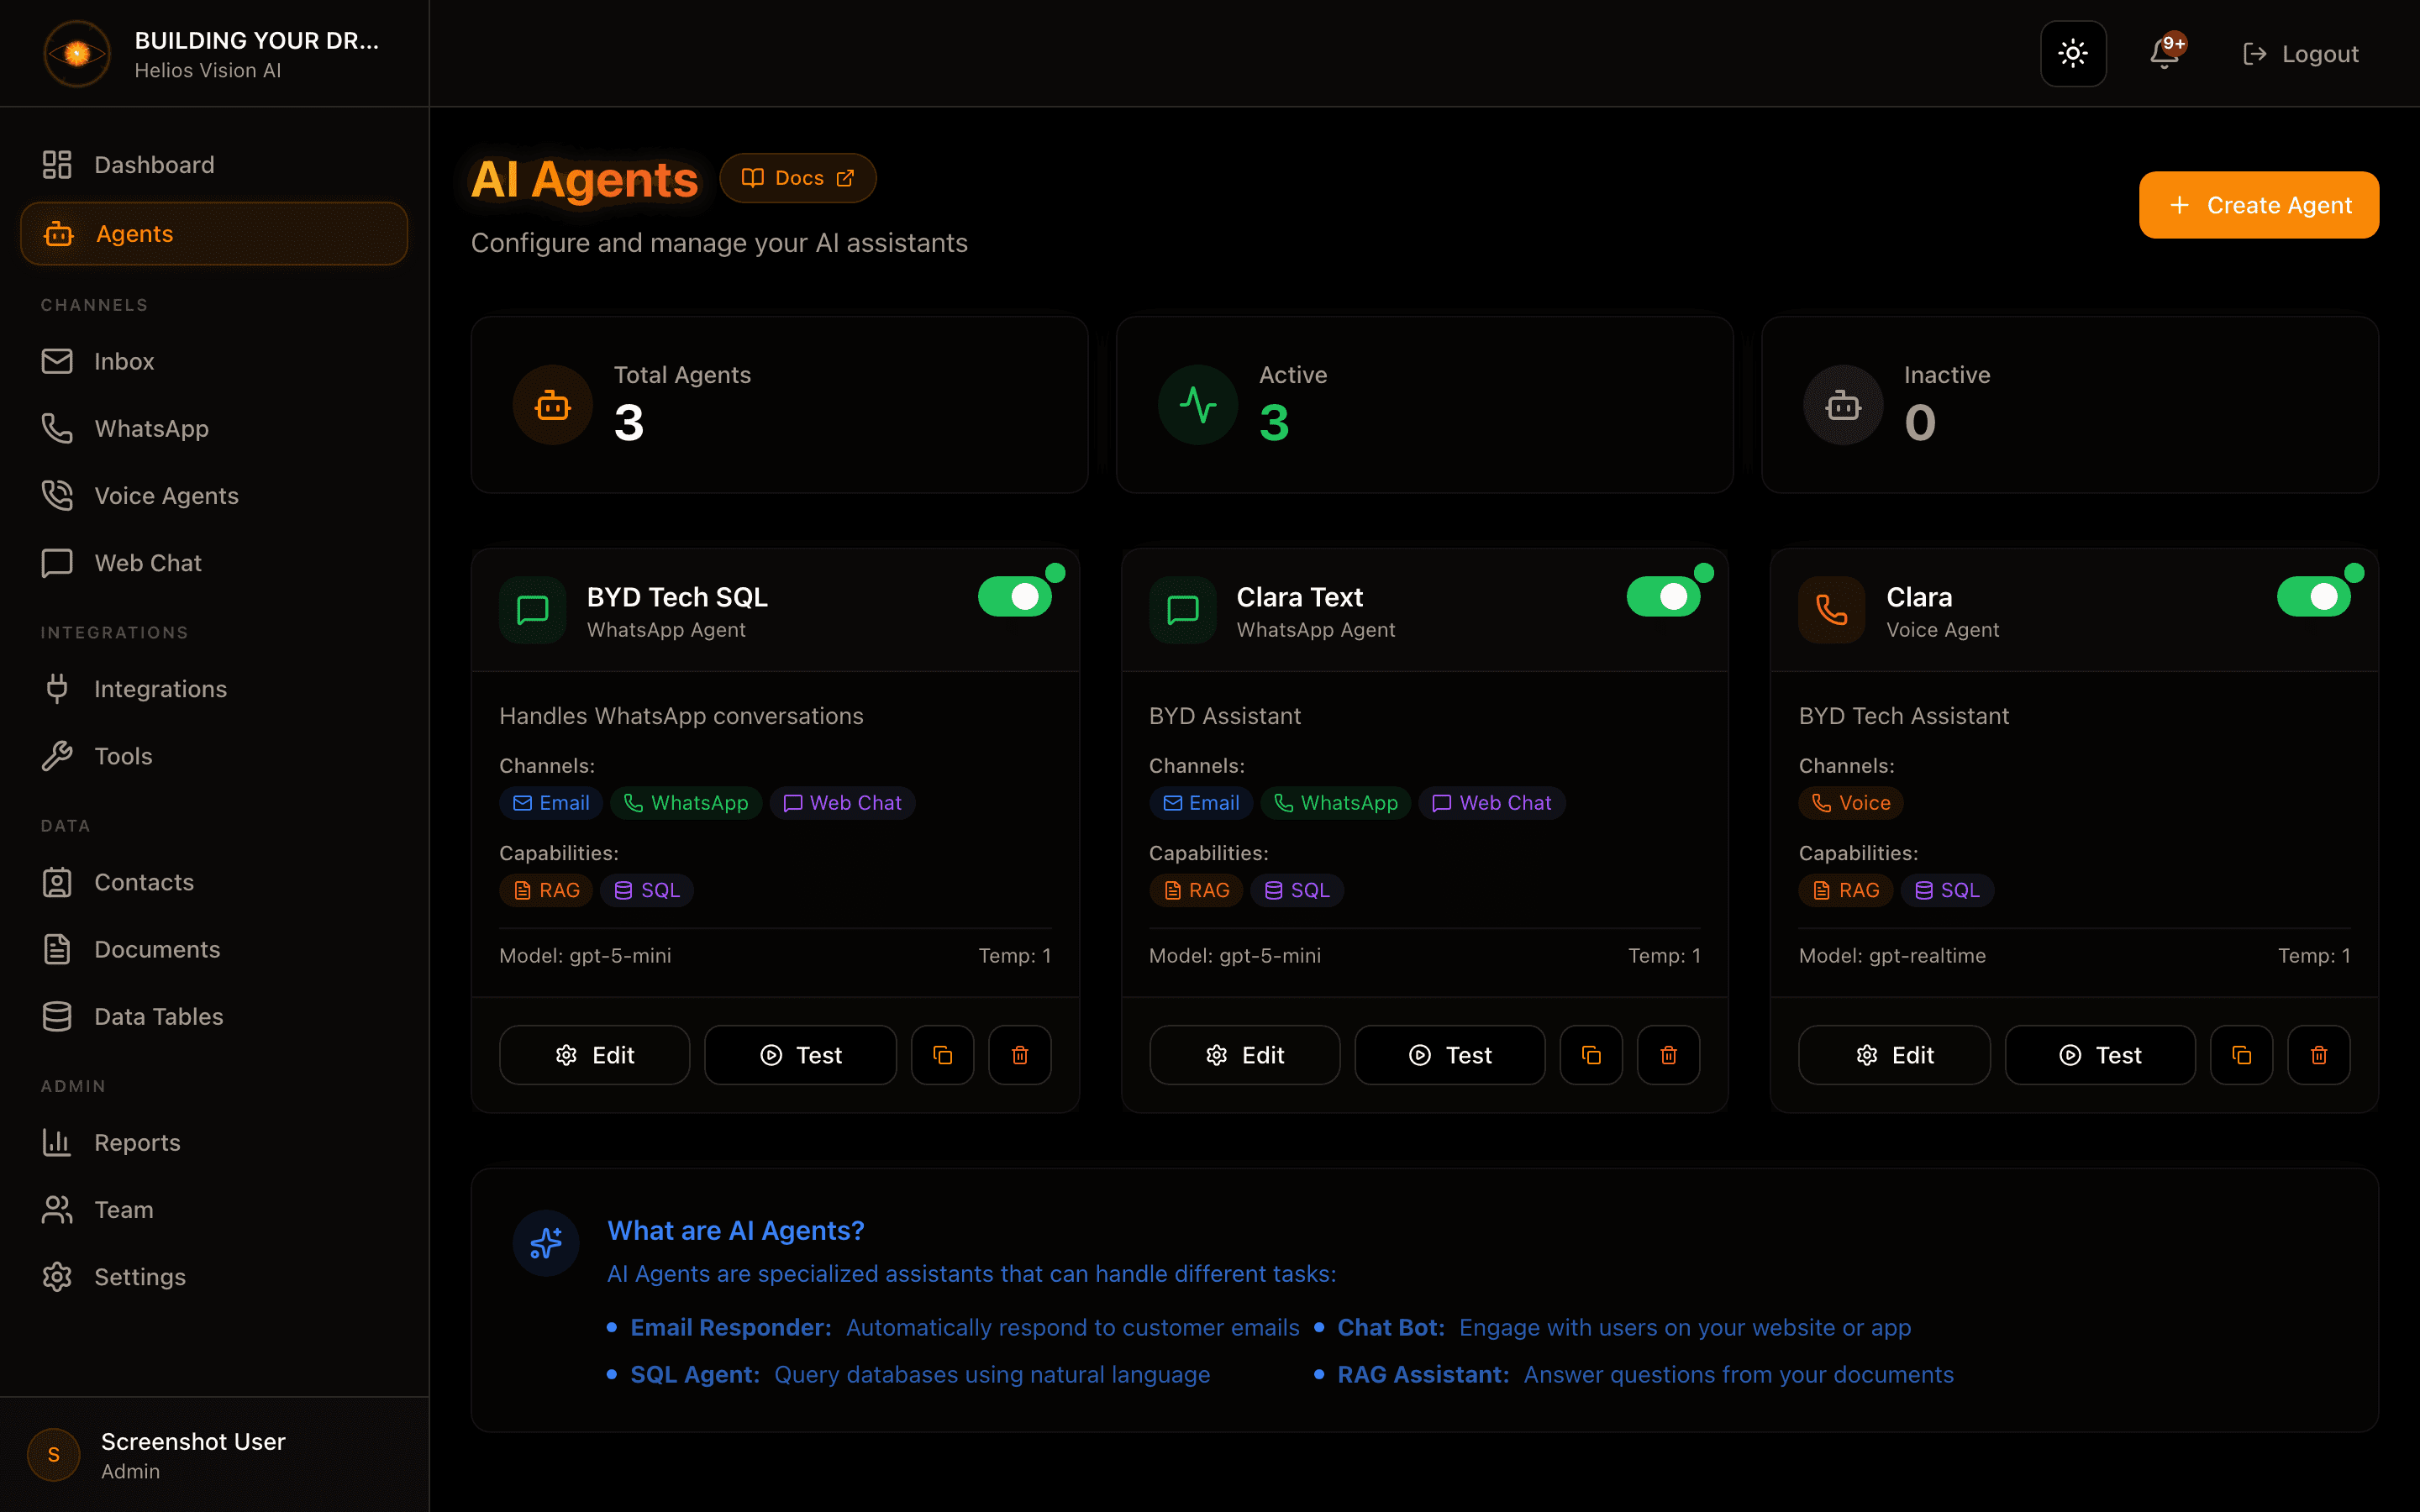
The Agents list shows one card per agent with Total / Active / Inactive counts, plus search and sort (newest, oldest, name, active first).
Each card shows the agent's channels and capabilities as icons, its model and temperature, and a status toggle. A "needs attention" badge appears when the agent has a configuration issue, and team badges appear when the agent leads or belongs to a team.
Card actions:
- Edit and Test (all roles).
- Ask Helio: open the Helio chat with this agent preselected.
- Status toggle: activate or deactivate the agent (activating counts toward your plan's agent limit).
- Duplicate and Delete (owner and admin only): Duplicate creates a copy and opens it for editing; Delete asks for confirmation.
Good practices
- Use a clear name per use case (Support, Sales, Collections).
- Enable only the channels you will actually operate.
- For RAG, upload clean documents with descriptive names and pick the matching document type.
- For SQL, grant only the tables and operations the agent truly needs; keep Read-only unless writes are required.
- Keep the system prompt within the limit, especially for voice agents.
- Test in the console and review the trace before activating.
Common notes
- No models appear: connect a provider key in Integrations, or your plan may not include models. An OpenAI key that is present but rejected or out of quota also hides its models — fix the key inline.
- Cannot enable RAG: connect a Google AI API Key and select at least one document.
- Cannot enable SQL: create at least one data table first.
- Cannot enable Web Search: add a web search API key.
- Cannot create an agent: you may have reached your plan's agent limit, or your email is unverified. The email channel additionally requires the Inbox module to be enabled for your workspace, which is a gradual rollout — contact support if you need it.